Take a look around you boy, it's bound to scare you, boy
Ed, Chris and I broke out my old 20mm Vietnam collection to give Chain of Command: DMZ Second Tour another go.
We used the "Going With a Bang" scenario from the Blitzkreig: 1940 supplement by TooFatLardies - a platoon of US Marines was tasked with capturing a bridge and strong point before withdrawing PAVN forces could destroy them.
 |
Chris and I took command of the USMC and took two M60 teams and a M113 as support options. The rules allow for the US to embed the M60 LMGs into existing squads, so we beefed up two of our three squads with the extra firepower (bringing their collective base fire to 24 dice within 12").
Ed's PAVN forces came with a sapper team tasked with blowing the objectives, a Political Cadre senior leader, MMG team in a bunker, extra RPG team and a pre-planned ambush.
Additionally Ed picked up the "Local Knowledge" trait for the PAVN, which gives their patrol markers a 14" move distance and allows them to be 14" apart, opposed to the base 12". This made a huge difference as it allowed him to stop our jump-off points from being further up the table.
 |
| Marines deploy while Ed observes their advance |
Quickly Chris' first squad deployed on the right, intent on pushing towards the bridge. Ed countered with a squad of PAVN regulars, descending into a jungle firefight with both sides saving well. Eventually Ed decided to fall back into the jungle as his sappers were able to blow the bridge early on.
 |
| PAVN squad deploys to slow the Marine advance |
 |
| Sappers set their charges on the bridge |
My Marine sections, supported by the M113 advanced slower up the left side, until we reached an open field and decided to book it across. At this moment, Ed deployed his MMG team in a bunker using his pre-planned ambush and slowed us down.
We found the MMG only having seven dice actually wasn't much of a fight for Marines who, including their own attached LMG were throwing 18 dice back at them at effective range. Something we may tweak is the points values of the HMG/MMGs for 'Nam.
The Marines suppressed and cleared the bunker easily, but it took up time that would have been better spent rushing the objective.
 |
With time running out and Ed's sappers making their way to the second objective, Chris and I decided to run the M113 up the road in the hopes of breaking some PAVN forces. Knowing full well that a RPG (AP of 11) would shred the M113 if hit (Armor of 2).
The M113 exchanged fire with PAVN forces and managed to shrug two hits with RPGs off, but Ed's second squad managed to land the fatal blow with their final RPG shot...
 |
| M113 is smoked by the hero RPG gunner |
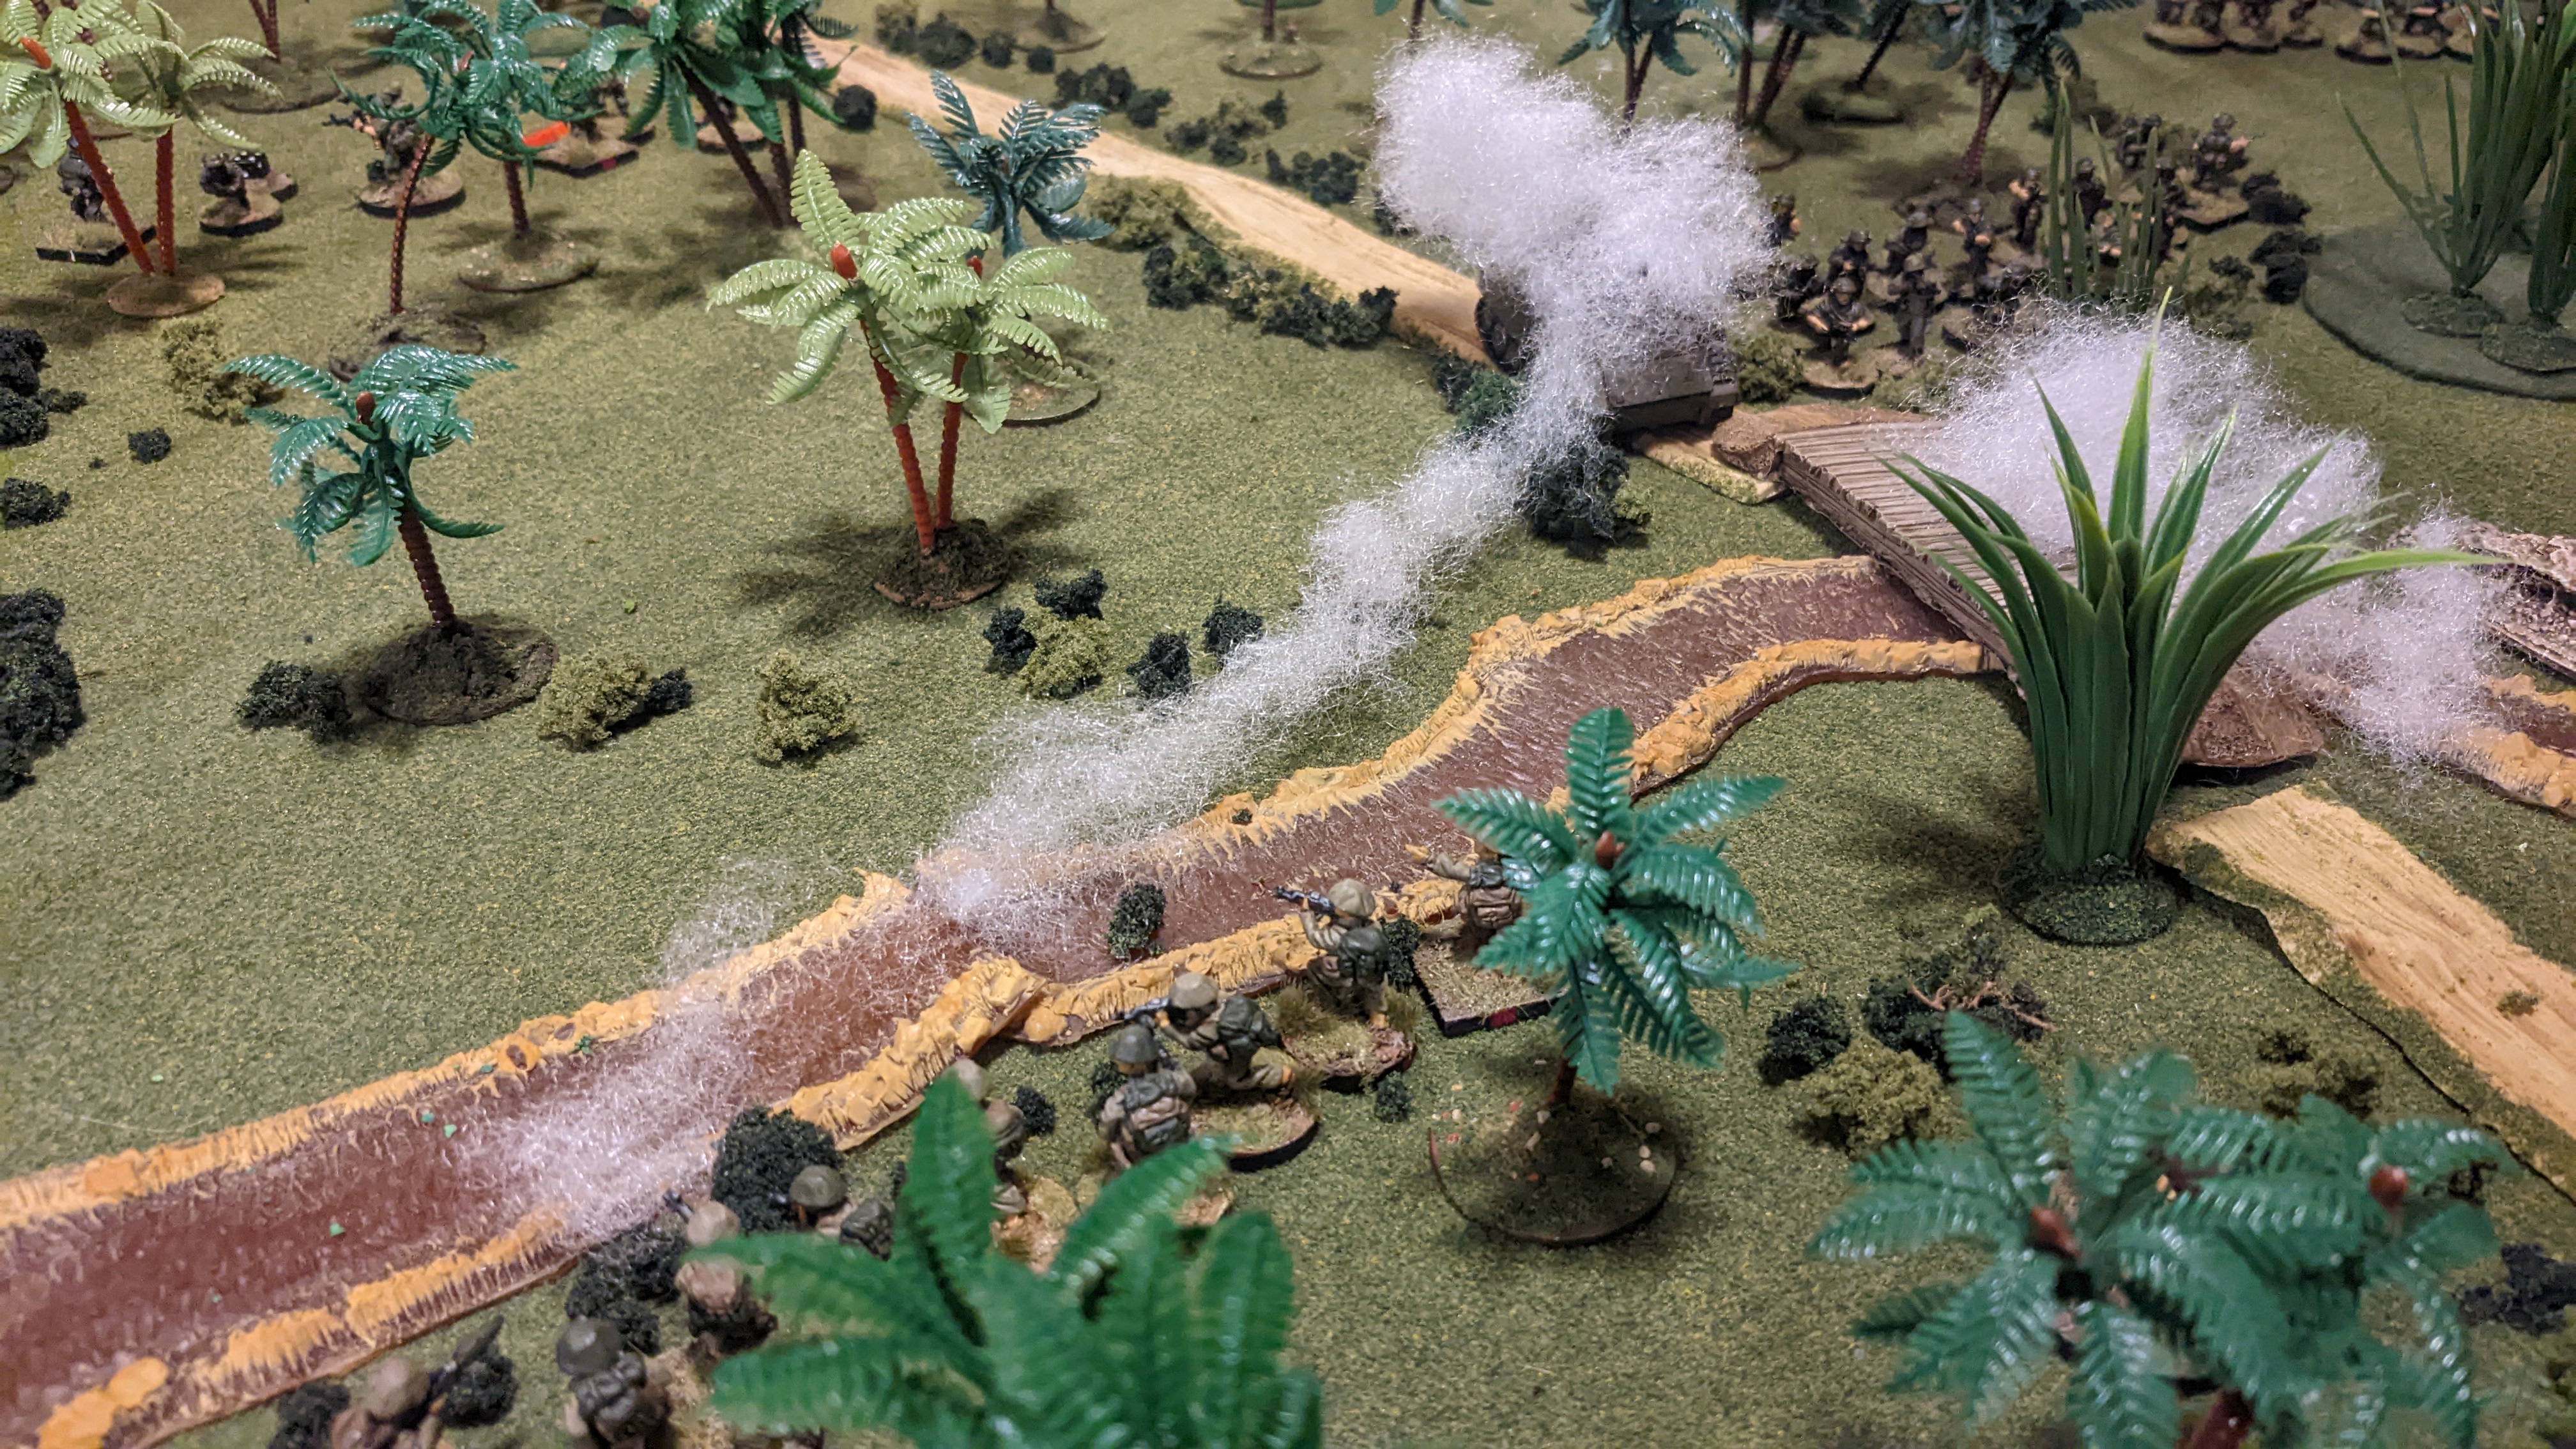
As the Americans desperately pushed the riverbank to try and suppress the sappers, the Vietnamese charges went off successfully landing Ed a victory. With the PAVN forces melting away into the jungle the Marines were stuck trying to ford the river.
Special shout out to Chris' Marine squad who took on three PAVN squads and made it through the whole scenario. Starting with 14 men, they ended the game with four.
Looking forward to continuing to use 'Nam stuff that I had painted for Arc of Fire years ago, as the CoC: DMZ works very well overall.

 |
| Final dispositions of forces |